Let me just start this post by stating for the record that breakfast burritos have always been a let down for me. I think it is the bland effect that scrambled egg gives the final product.
When I was pregnant with Muffin, in an effort to ensure I ate a good breakfast each day before work, Josh spearheaded the whipping up of several breakfast burritos for the freezer. Most stayed uneaten, though not for lack of trying.
I wish I had discovered this recipe back then. I could probably eat these for breakfast, lunch, and dinner, freshly made or straight from the freezer.
They are that good.
The funny thing? I’ve never had a Denver Omelet before.
This recipe is easily adaptable. Not fond of the veggies in the mix (Muffin)? Leave them out. Require a little extra kick? Add several dashes of hot sauce before rolling up the burritos.
These are very large burritos, so, if you don’t have a “Chipotle Burrito” appetite, feel free to share this with someone you care about.
I just found this recipe when searching for make-ahead breakfasts for when my in-laws visited this past summer.
These truly do freeze and reheat well.
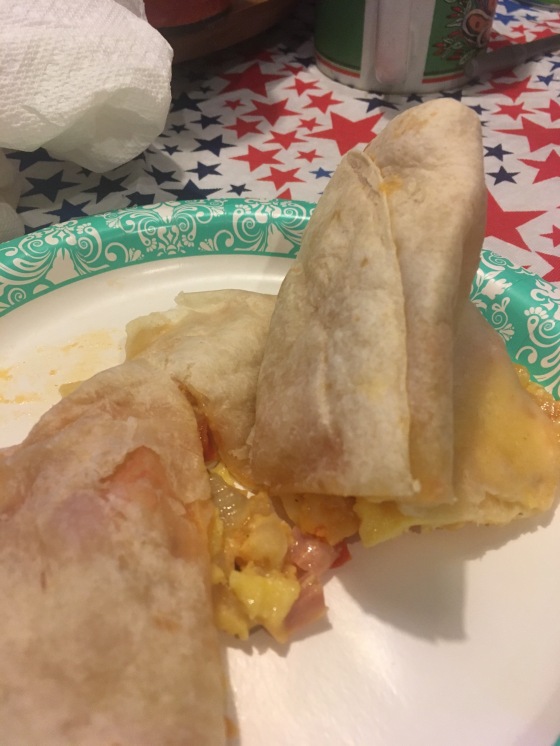
Denver Omelet Burritos
Source: Tablespoon
4 tablespoons butter, divided
1 large onion, diced
1 large red bell pepper, diced
1 large green bell pepper, diced
1 (16 ounce) package frozen hashbrowns
salt and pepper, to taste
cooking spray
12 eggs, beaten
8 ounces sharp cheddar, shredded
1 cup diced ham
8-10 burrito-sized flour tortillas
Melt 2 tablespoons butter in a large skillet over medium-high heat. Add in vegetation and cook until tender (5 minutes).
Add in remaining butter and potatoes. Cook, stirring frequently, until potatoes are brown and soft (8 minutes). Remove from heat. Season with salt and pepper and set aside.
Heat a second large skillet over medium heat and spray liberally with cooking spray. Add in the eggs and scramble until cooked through, about 10 minutes. Remove from heat and stir in cheese and ham. Season with salt and pepper and set aside.
Assemble the burritos by placing a heaping 1/3 cup each of the two mixtures. Roll burrito closed.
Repeat with remaining ingredients. You should be able to get at least 8 burritos.
These may be wrapped in foil, frozen, and reheated.
If you make ones that don’t have onions or peppers, these are Muffin Approved.